Need the iPhone or iPad version? Click here
I have for many years been using a program called TeamViewer to offer my clients the convenience of having me be able to control their computers remotely. It was nice that they didn’t always have to wait for a time when we could meet physically in person, and it is especially prescient now that we can still use this system to help you during this time.
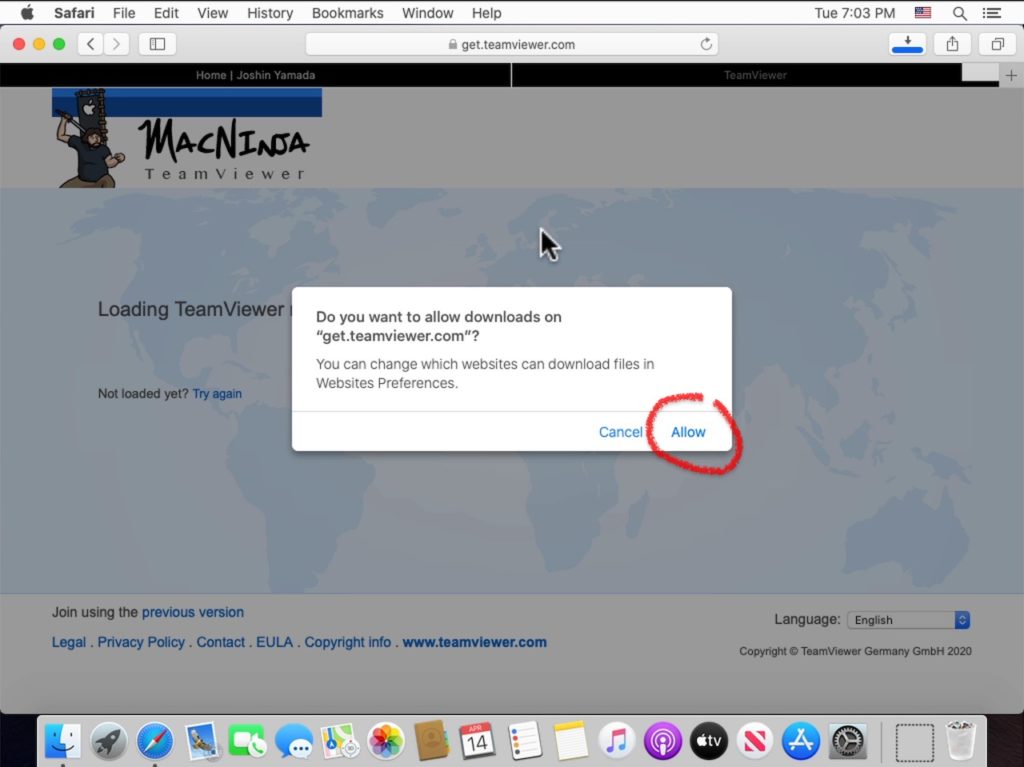
You should see a window appear asking you to allow downloads from TeamViewer.
Please Allow the download
Click this link to download TeamViewer. ![]()
(On an older version of the Mac like Mac OS X 10.14 Mojave or earlier? Click Here)
Step-by-step guide to installing TeamViewer for Mac
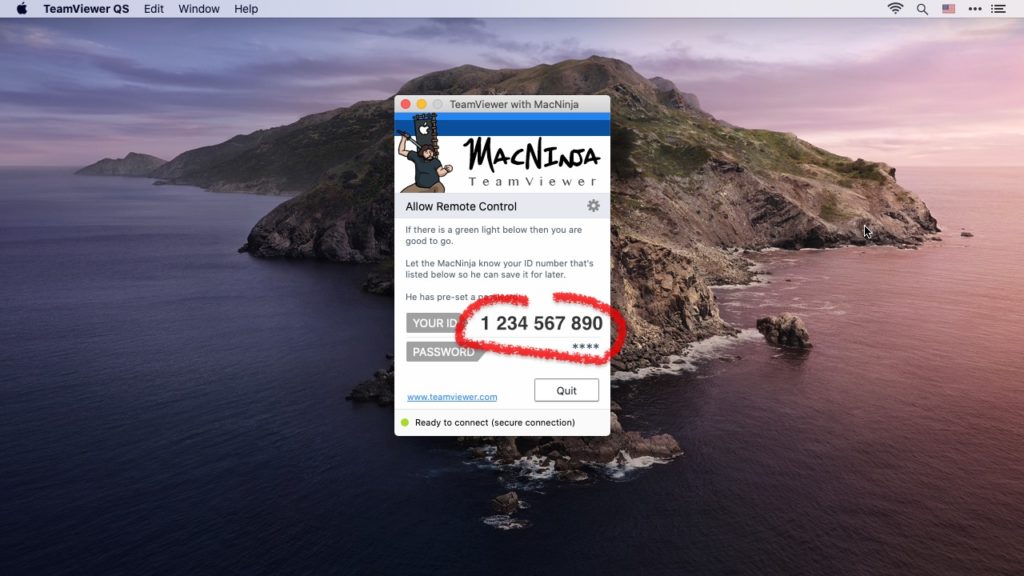
1. First allow your web browser to download from the TeamViewer.com website. It may take 1-3 minutes for the download to begin as a customized version of TeamViewer is being built for your specific version of the Mac. It is pre-programmed with my logo and password
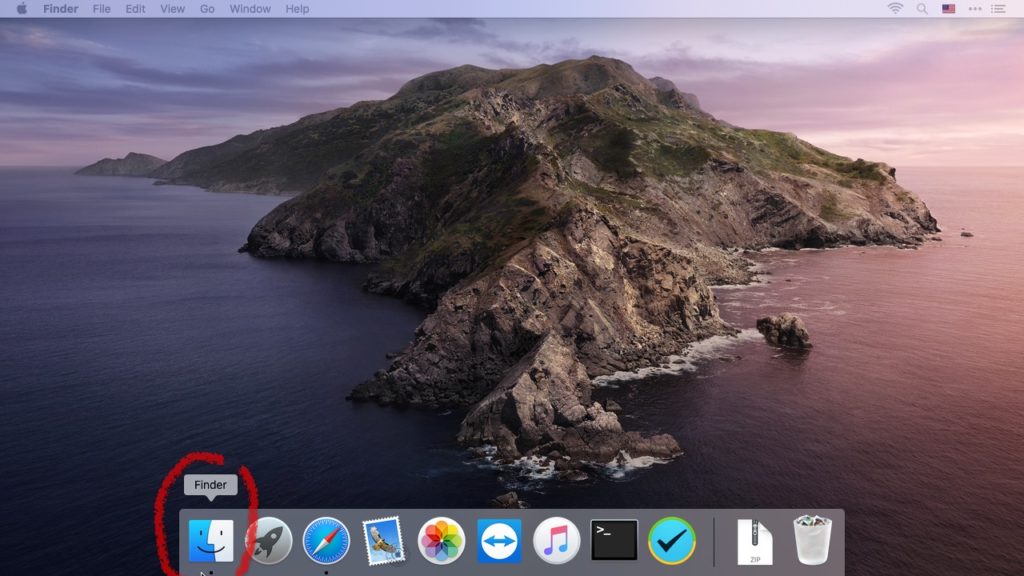
2. Click on the Finder icon in your Dock
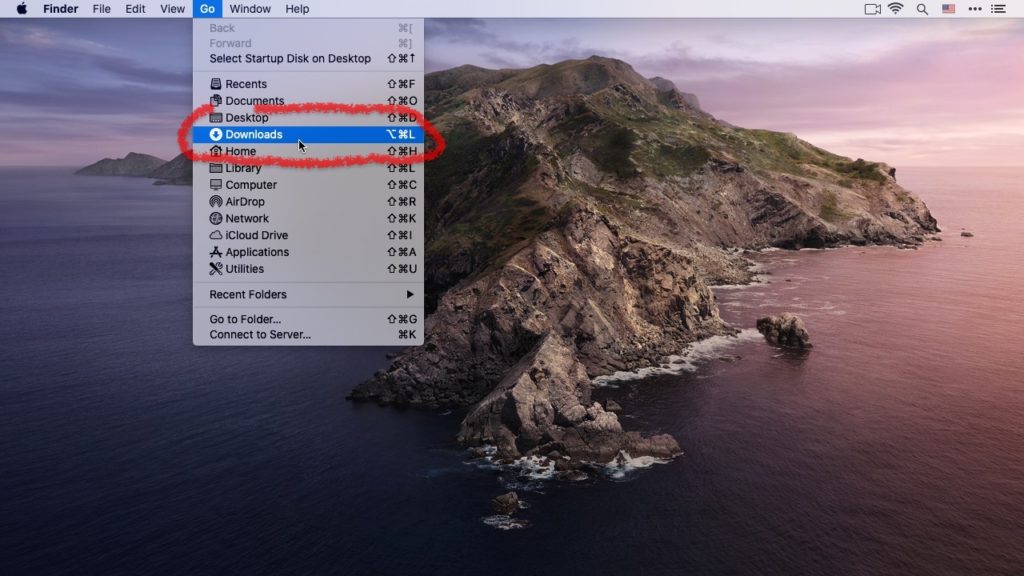
3. Go to the Go menu and choose Downloads ⌘⌥ L
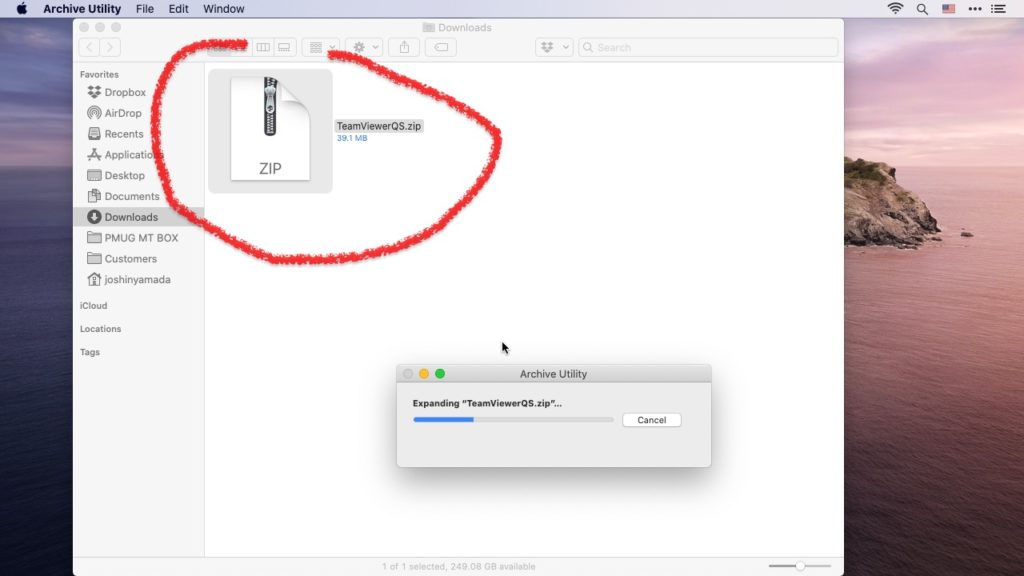
4. Double click on TeamViewerQS.zip to expand the archive. (there might even by multiple copies if you have tried before)
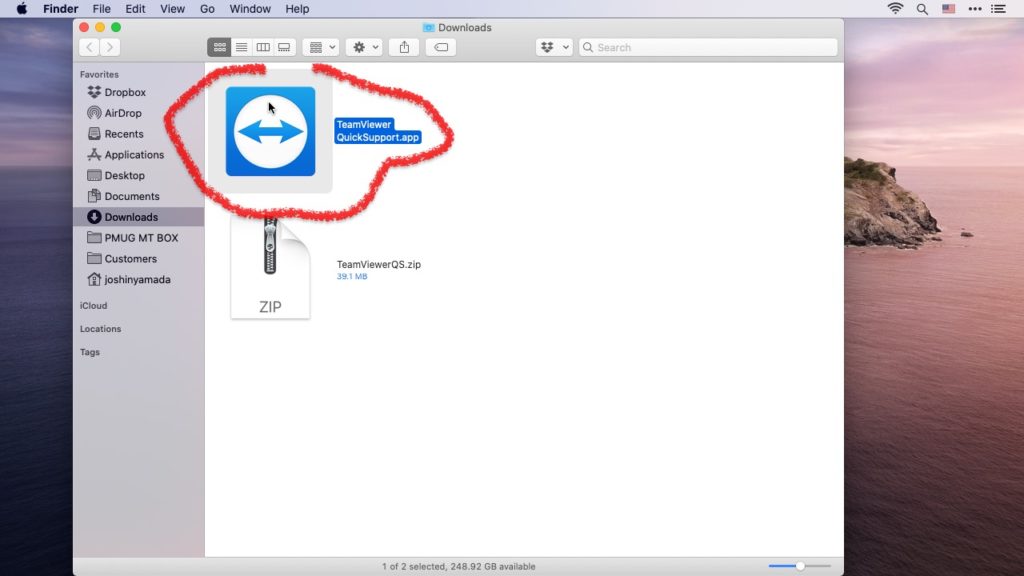
5. Double click on the TeamViewer QuickSupport.app icon in your Finder window to open the app.
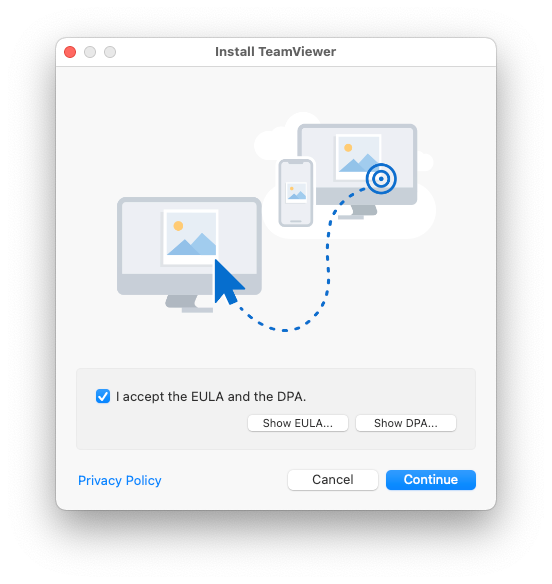
6. You will be asked to agree to a EULA (End User License Agreement). Click on the checkbox and press continue
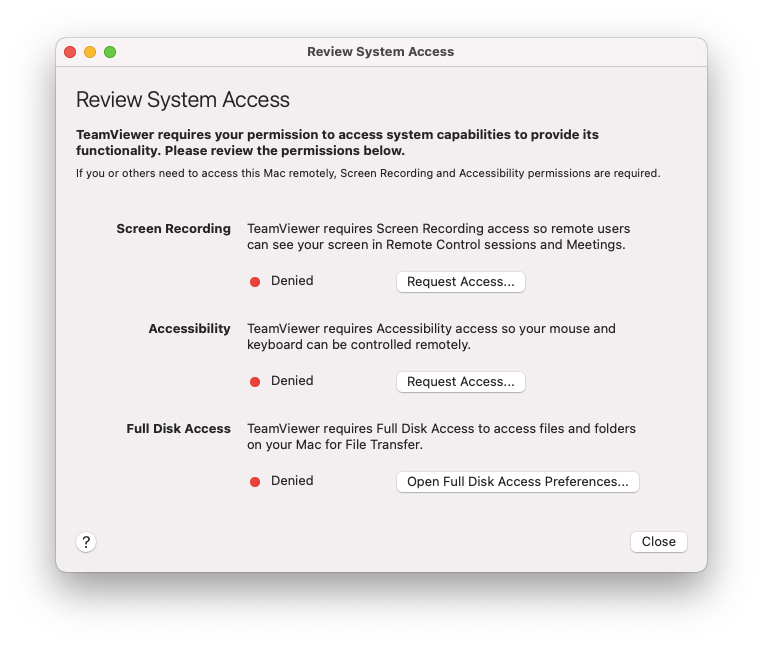
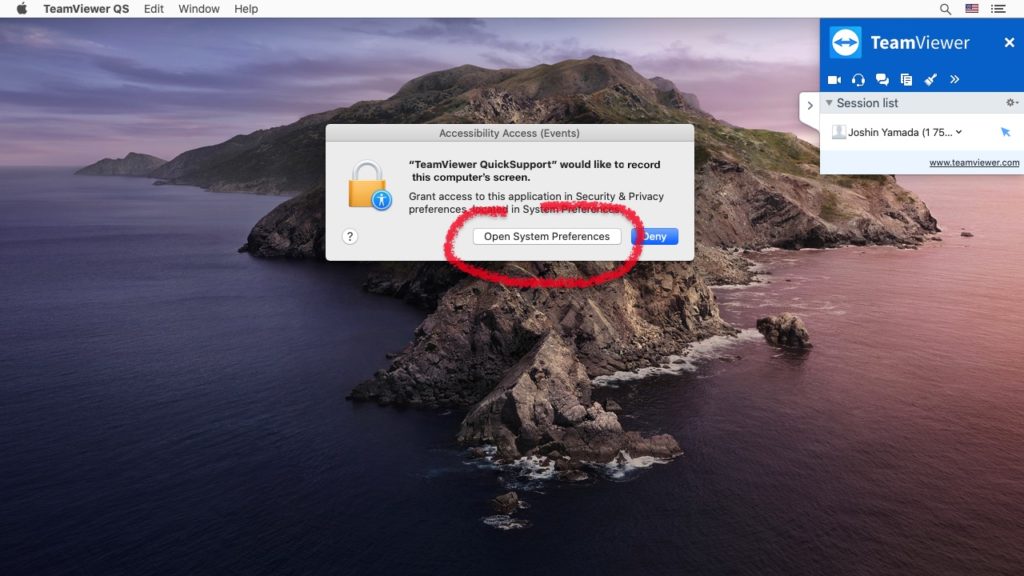
7. Here you will be asked to give permissions to allow the screen to be recorded and shown over remote control to me, as well as permission for me to be able to control the mouse and keyboard. I do not need the third permission (the ability to save a file anywhere on your computer)
8. We will need to visit the System Preferences: Security & Privacy window to give these special permissions. A window will appear to set up the permissions. Click on Open System Preferences
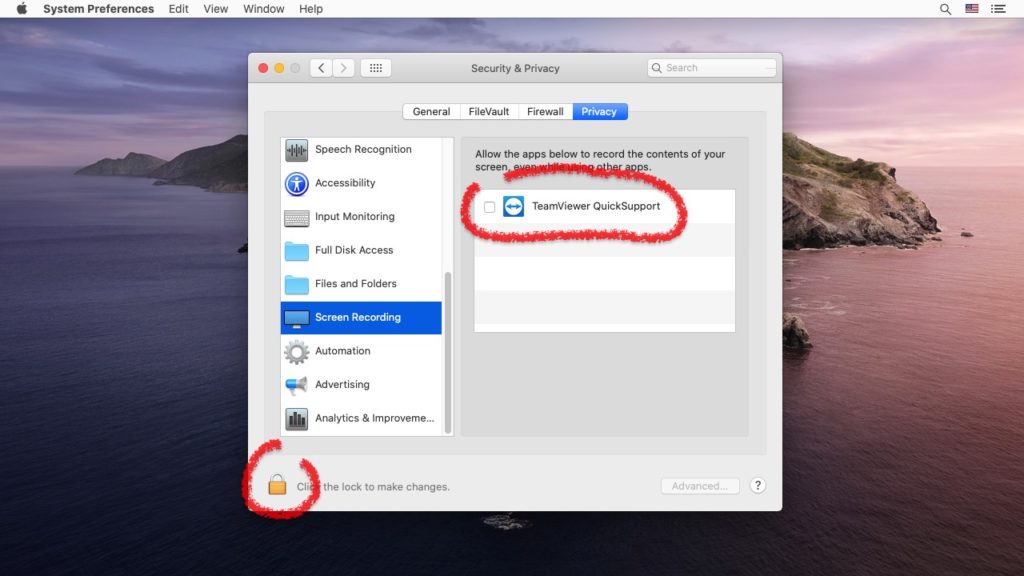
9. The System Preferences will open up. You will have to click on the yellowish lock in the lower lefthand corner and enter your Mac administrator password in order to continue. Then you can click on the checkbox next to TeamViewer QuickSupport
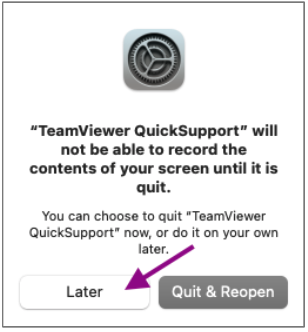
10. Once you complete this step, a warning will appear saying that TeamViewer will not be able to record the screen until it is quit and restarted (This is a bit of a lie: I will now actually be able to see your screen). Click on the Quit & Reopen button
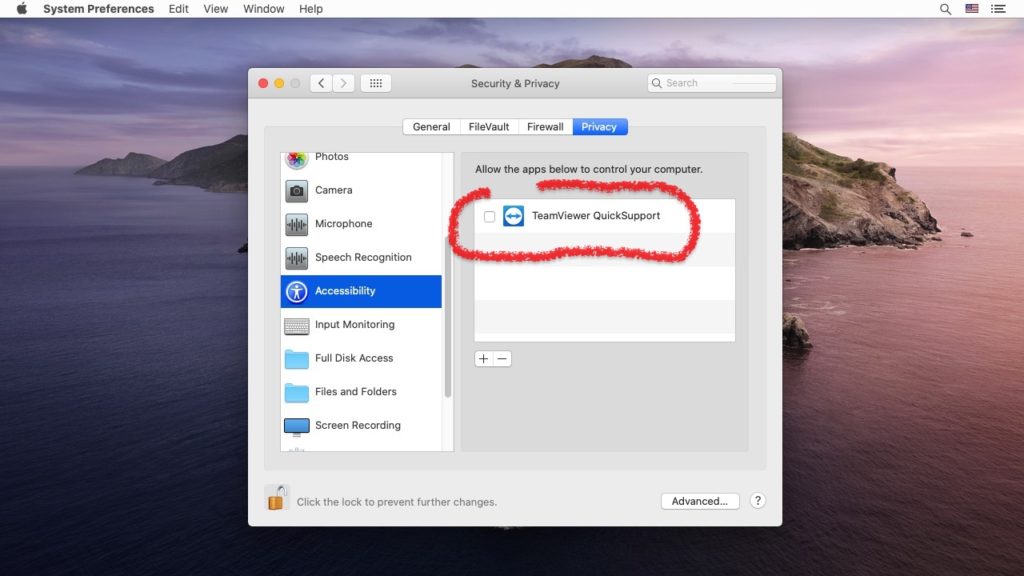
11. Now we can add the second permission, the ability for me to control the keyboard and mouse. The System Preferences should still be open. Scroll the list on the left until you see Accessibility and then click on it. You will see TeamViewer QuickSupport again and you will need to click on this second checkbox so that I can control your computer
12. Now you should have TeamViewer open. You should see my logo and then you should see an ID number that is unique to your computer. Call me and tell me your unique TeamViewer ID number. I will save it on my computer and then try to connect to your computer.