
Guide to Apple’s Migration Assistant
It’s easy to get wrapped up in the excitement of buying a new Mac, but then feel intimidated about the details of how you will actually move your data from your old Mac to your new one. Here’s an illustrated guide to help.
Things you will need: Your old computer’s administrative password. Your AppleID password (if you use iCloud).
Preparing the old Mac
1. Let’s concentrate on just the old computer for now. Leave the new computer turned off and start up the old computer.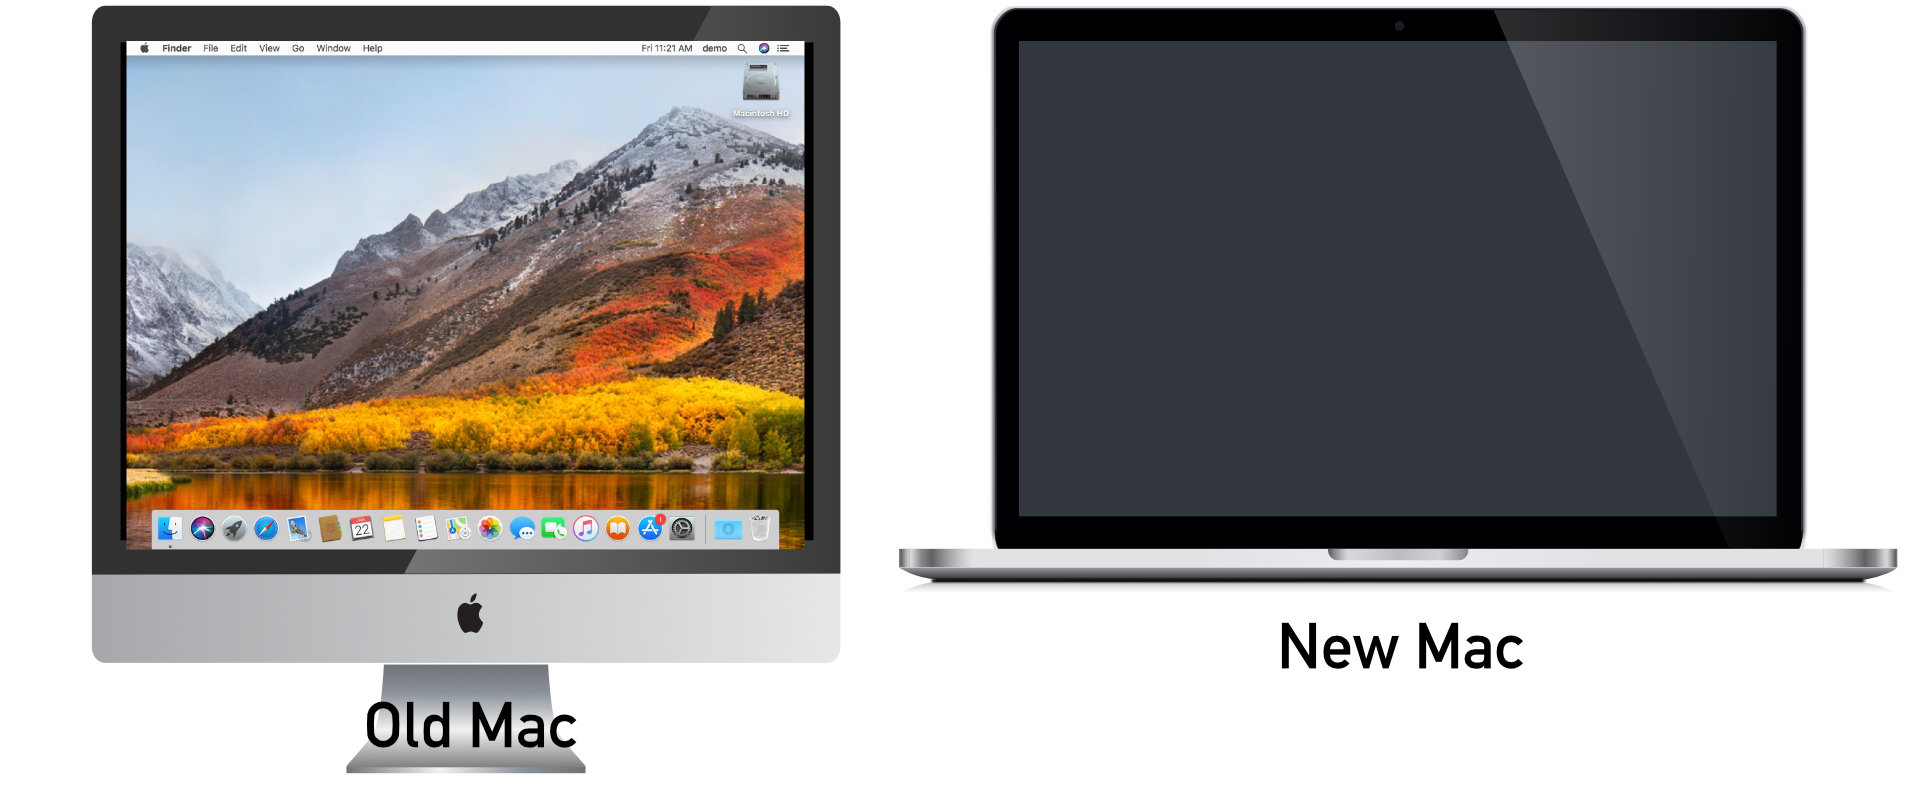
2. Click on the Finder icon in your Dock (or double-click on your hard drive icon) to open a new Finder window.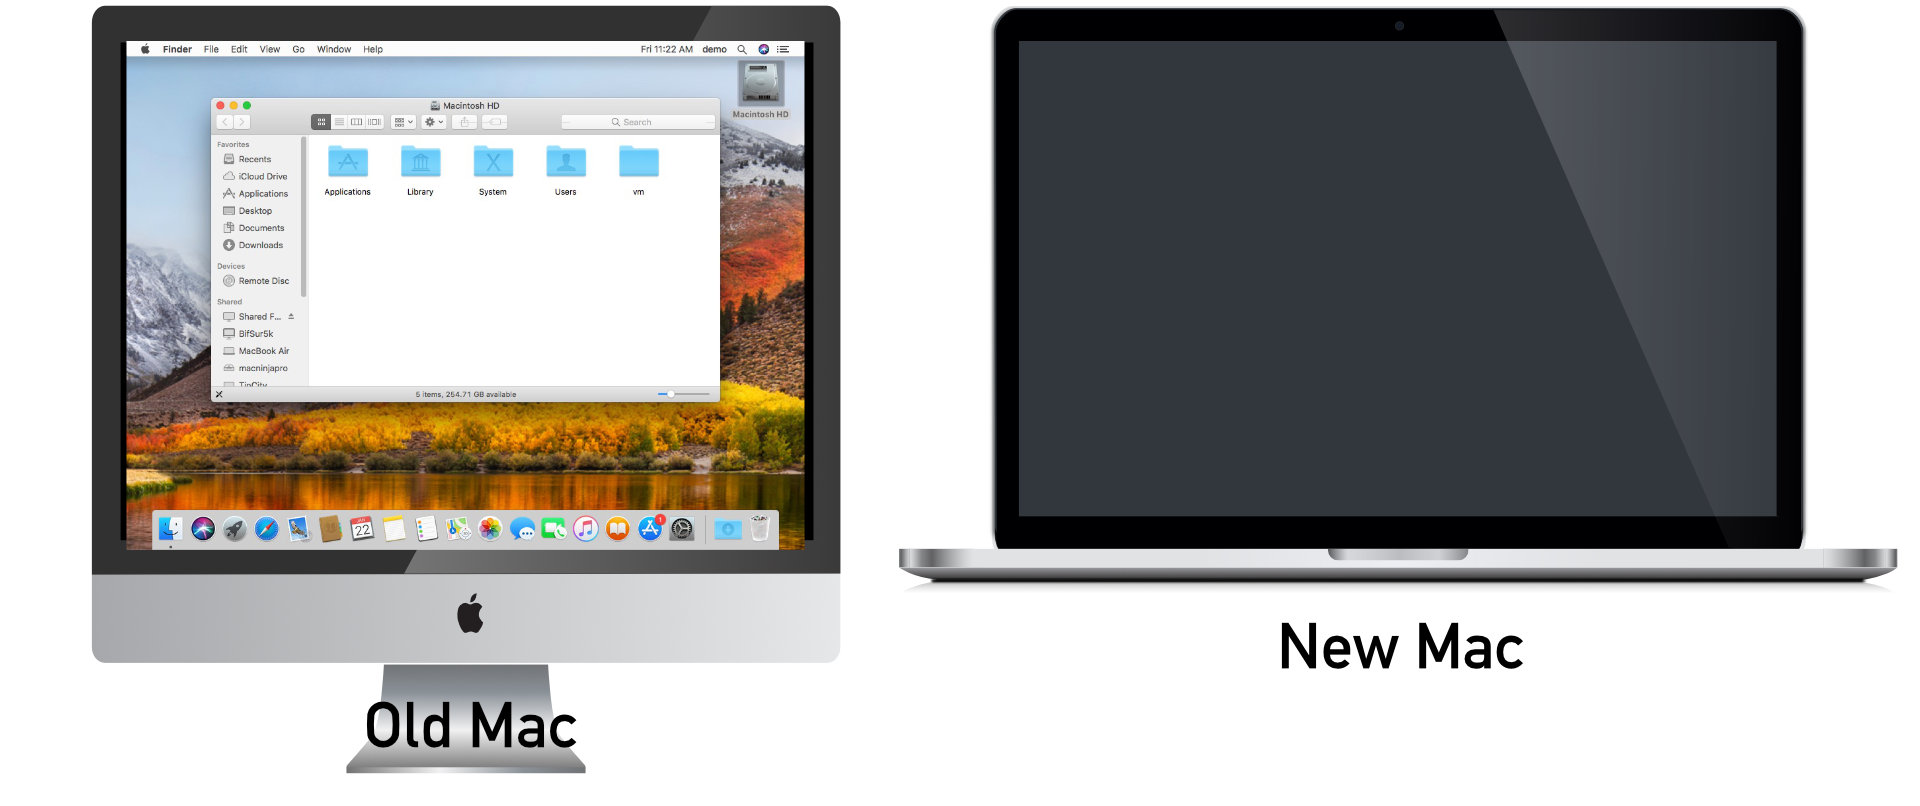
3. Click on Applications from the sidebar to jump to that folder.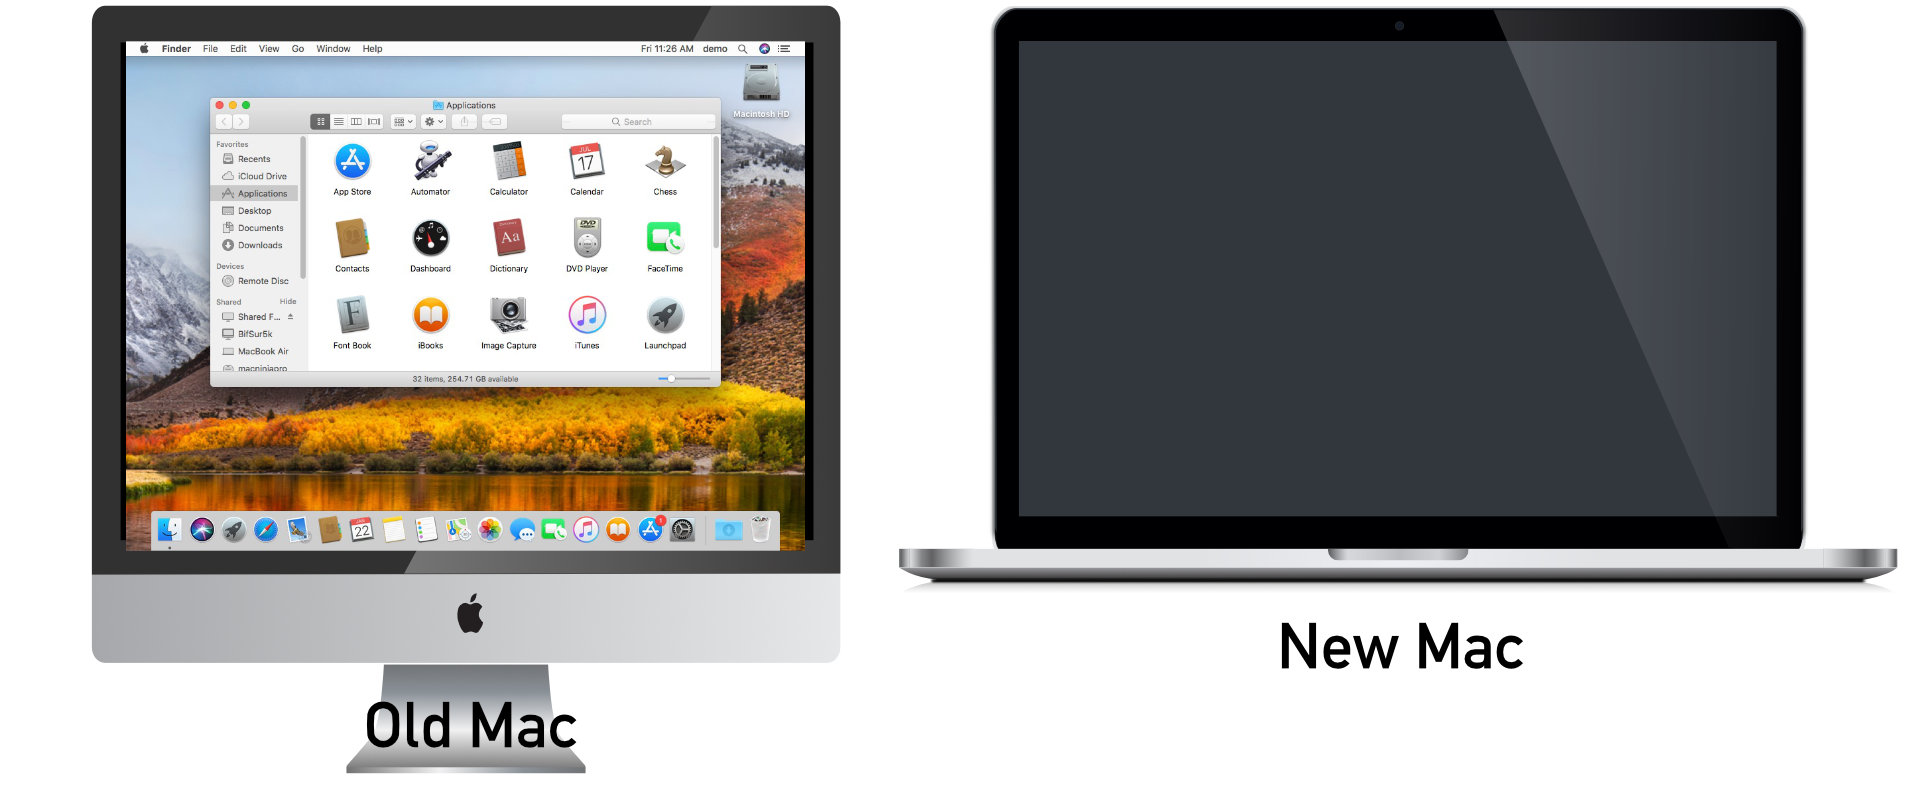
4. Double click on the Migration Assistant icon.

5. You will get a warning that Migration Assistant must quit all running applications in order to migrate your data. Click on the Continue button to move on.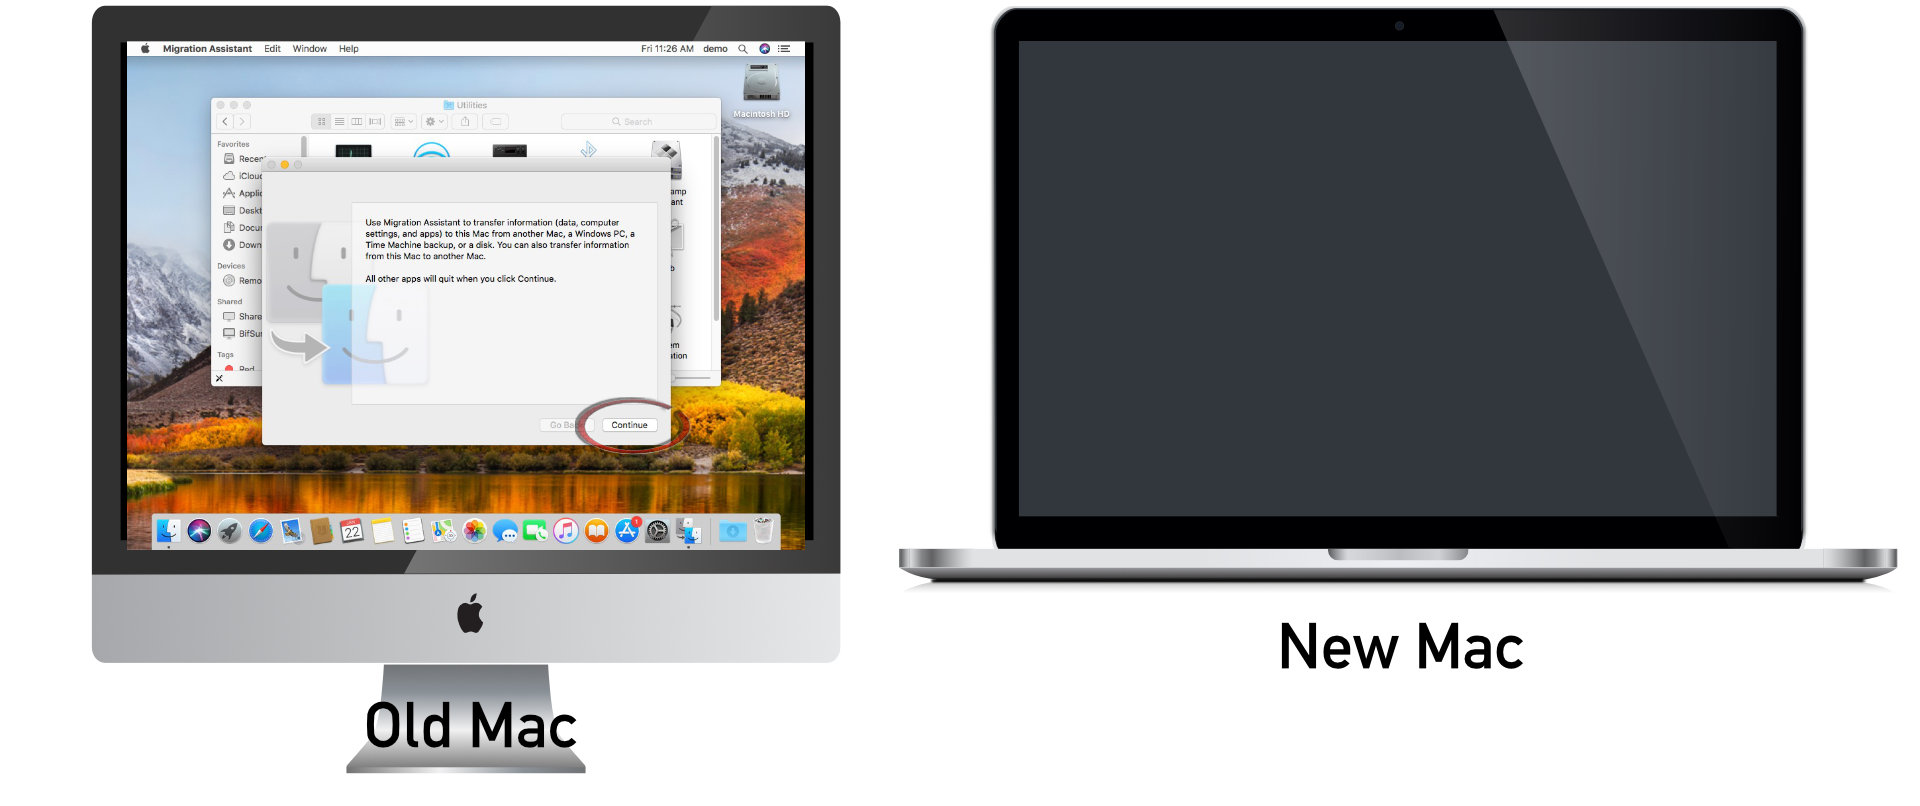
6. You will need to enter your Mac’s Administrative Password in order to migrate your data. This is required in order to establish a chain of trust that you are authorized to move the data from the old computer to the new.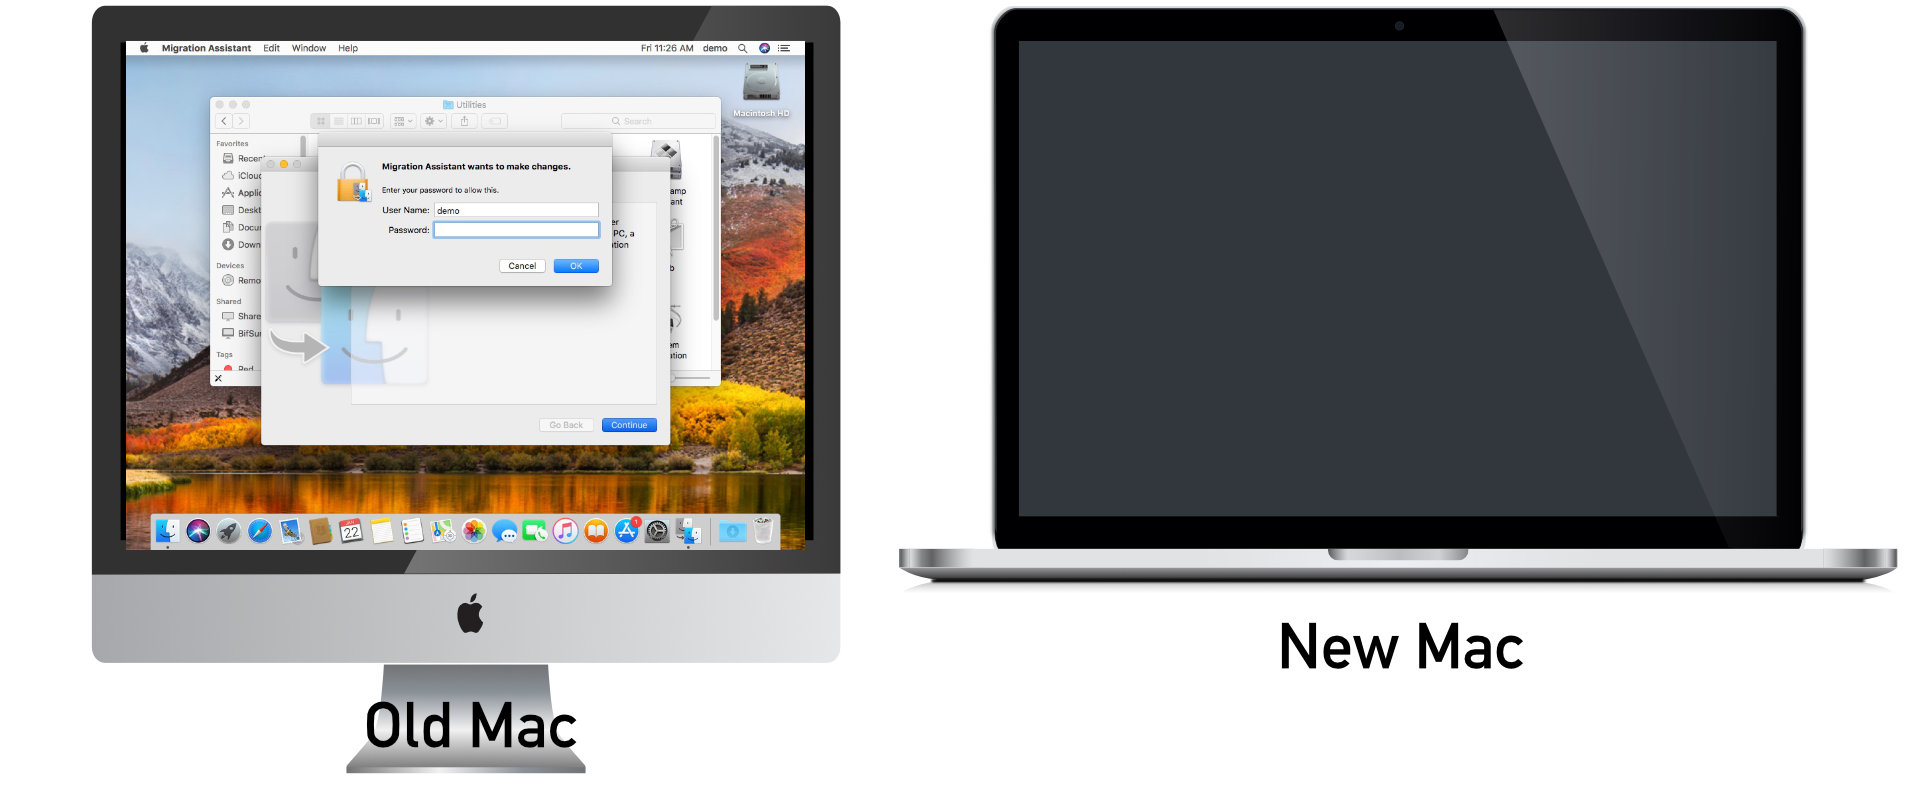
7. This is what the Migration Assistant looks like. The computer will be busy for a bit indexing what information must be transferred.

8. The Migration Assistant starts out with importing data as a default.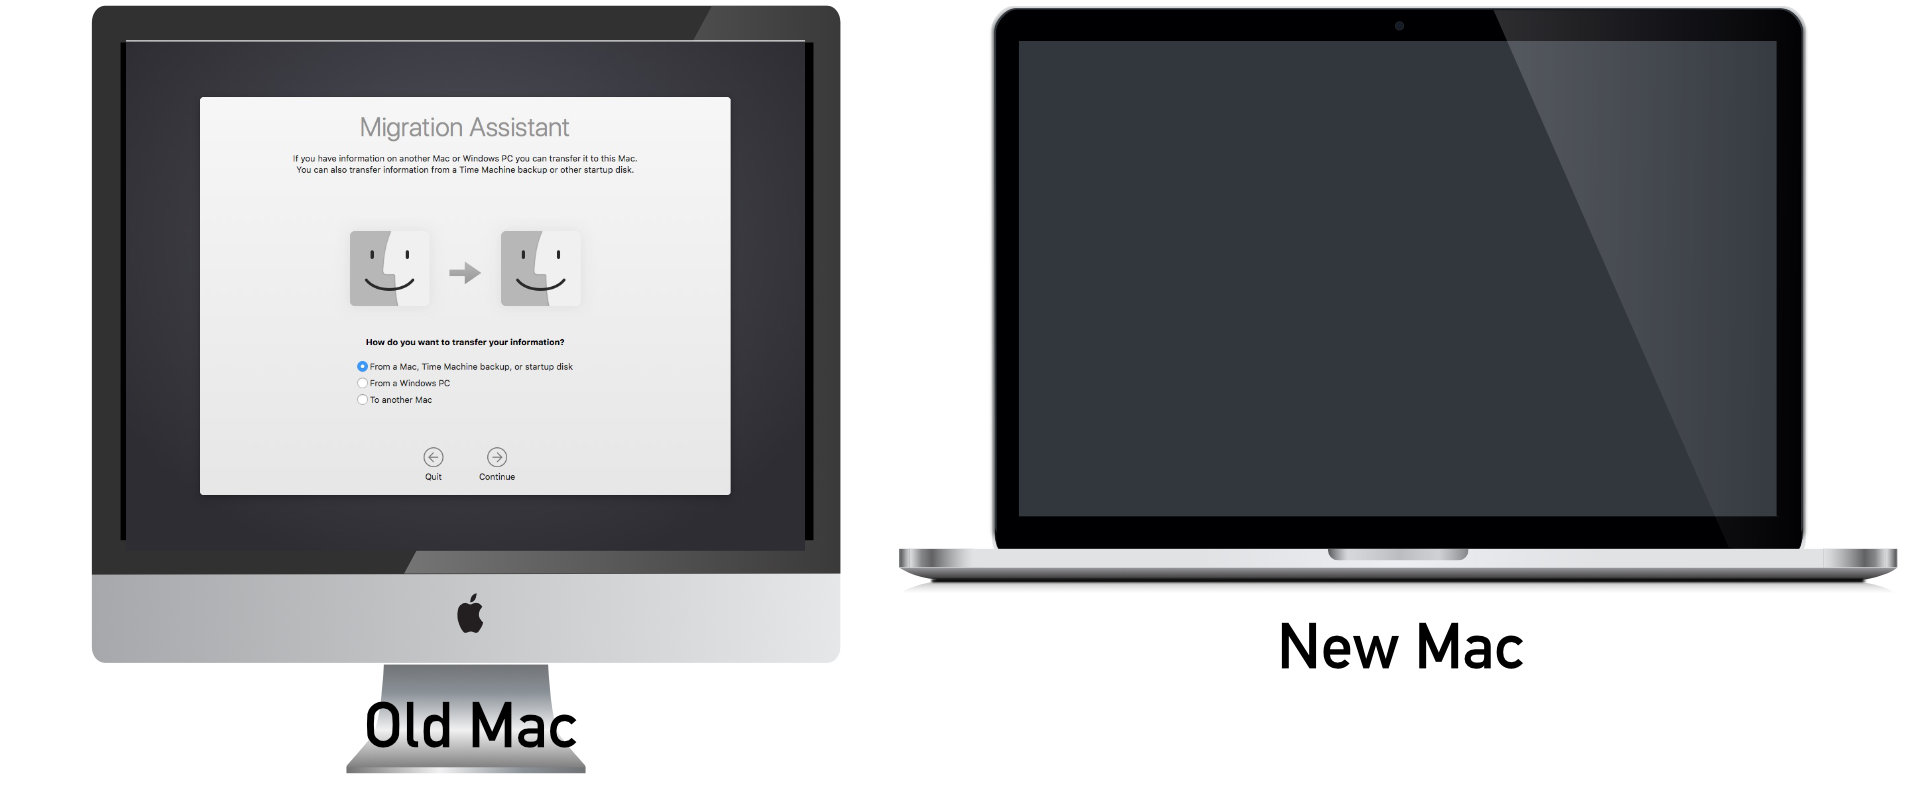
9. We want to click on To another Mac in order to prepare your old Mac to transfer data to the new Mac. Press the Continue button.

10. You will see an Spinner continuously rotating in order to indicate activity as the old Mac awaits orders from another Mac. Time to turn our attention to the new Mac.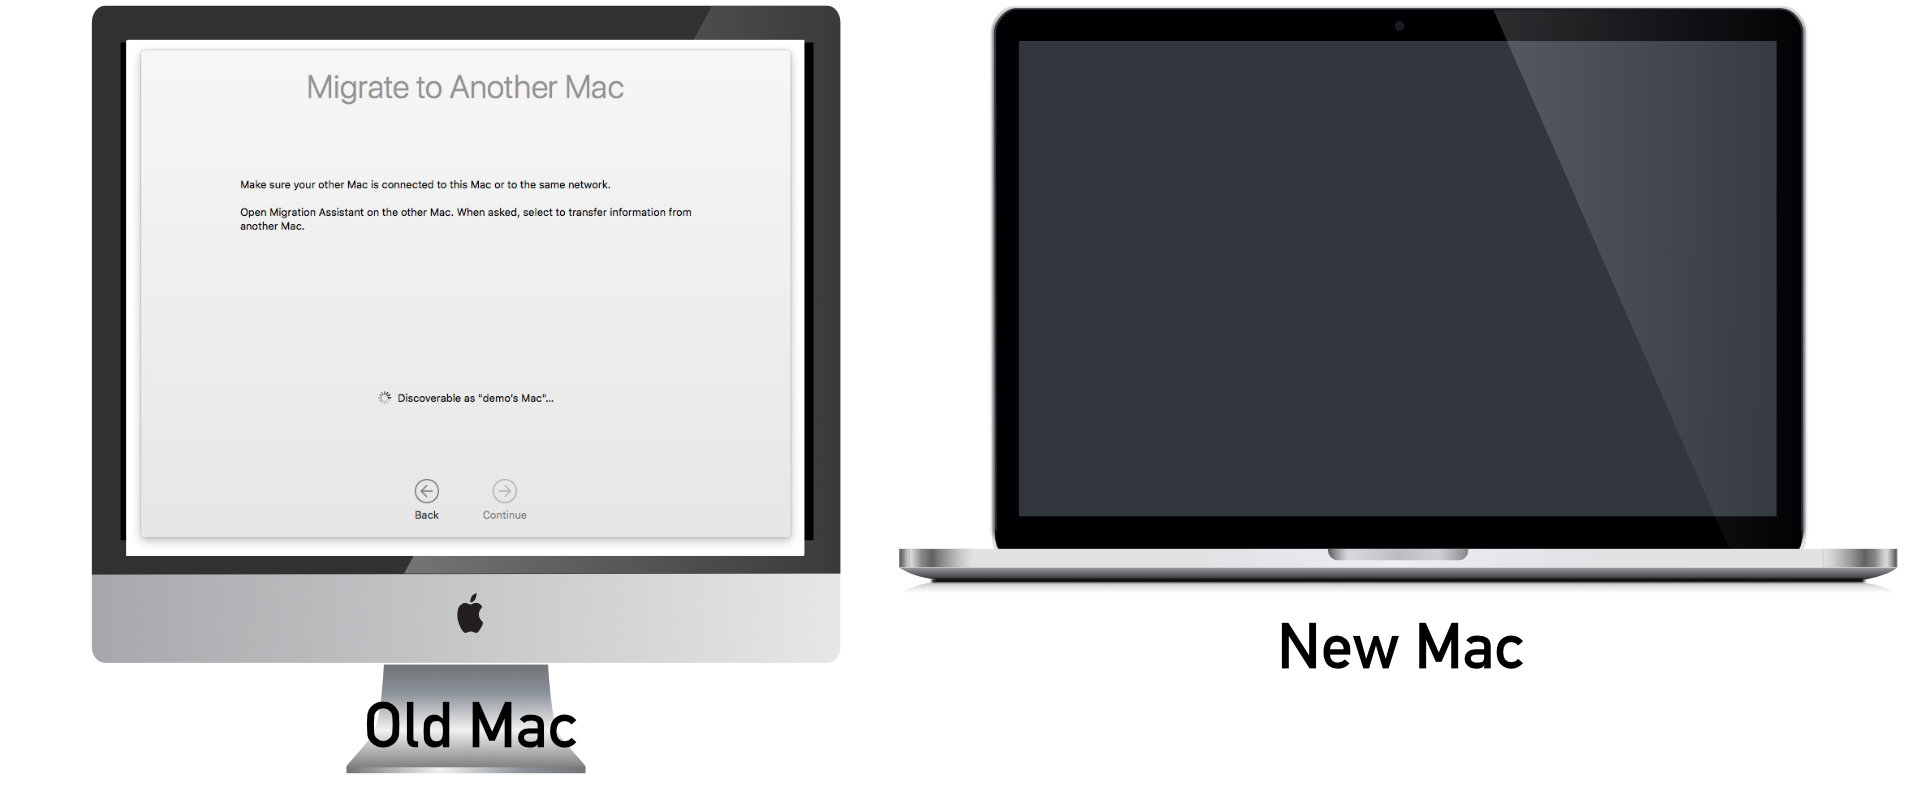
Preparing the new Mac
11. Let’s turn on the new Mac.
12. The first thing that happens is that a Setup Assistant will launch. It will try to set up language options for you so you can continue. Choose your country.
13. You will then need to confirm your language settings.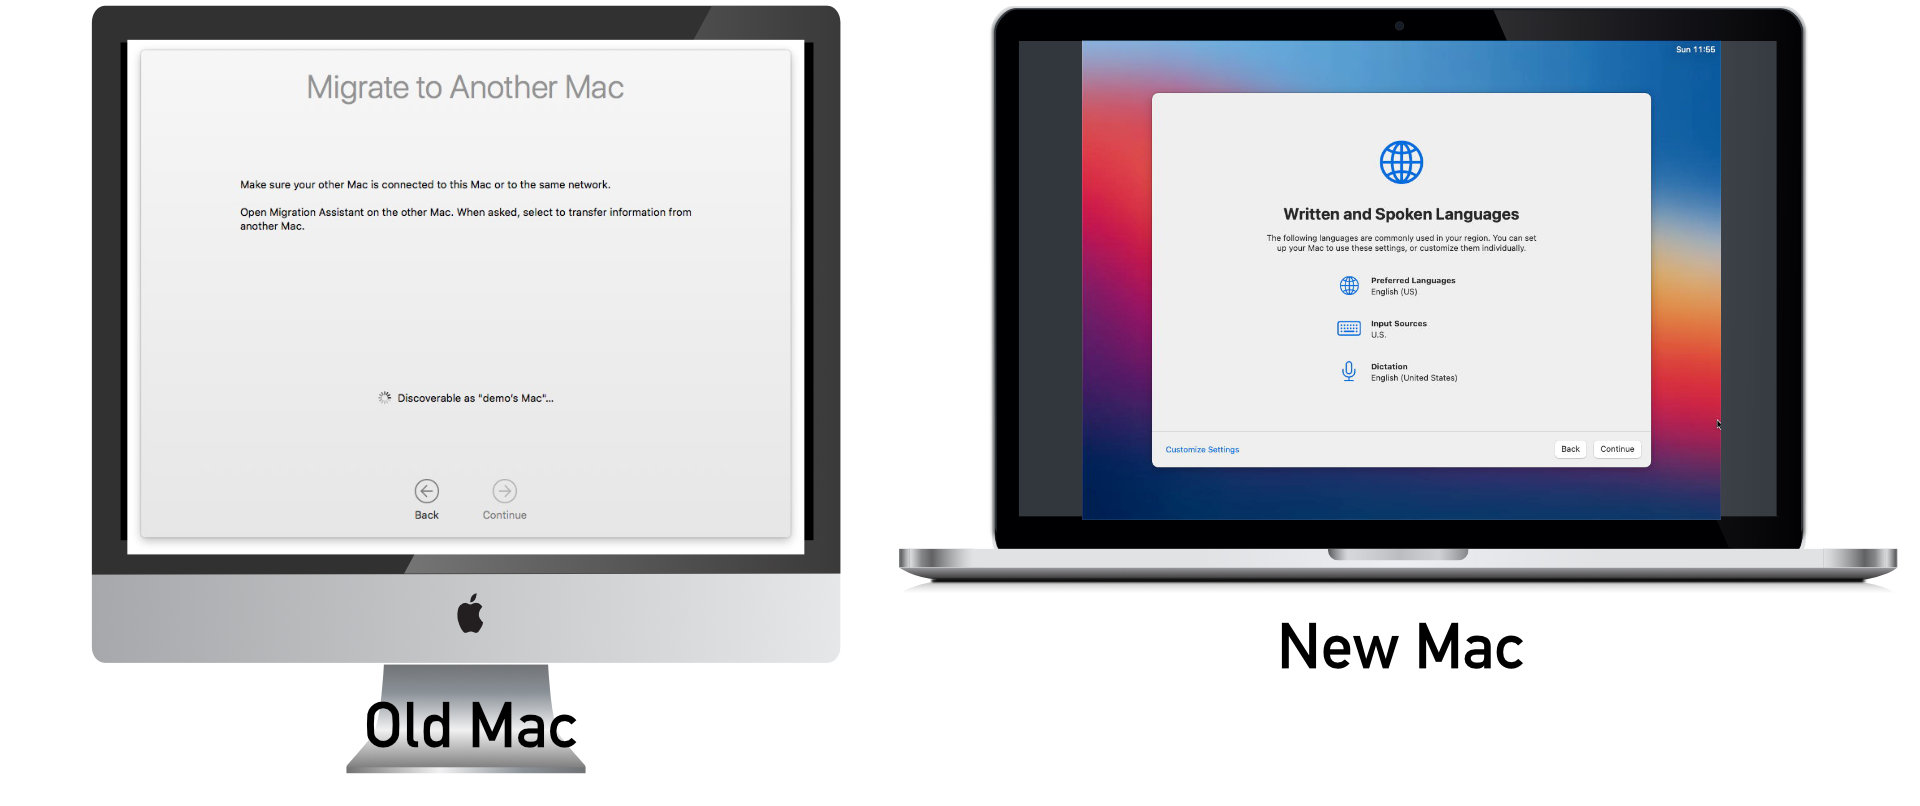
14. Now that Apple knows what language you understand, they offer Accessibility options to make the Mac available to more people. You can click on any Accommodations that you require. If you don’t need any, then just press the Not Now button. You will then be asked to choose a Wi-Fi Network and also enter the Wi-Fi Password.
15. You will see a Data & Privacy notice as required by the European Union’s GDPR (Global Data Privacy Rights) act. You can simply press Continue.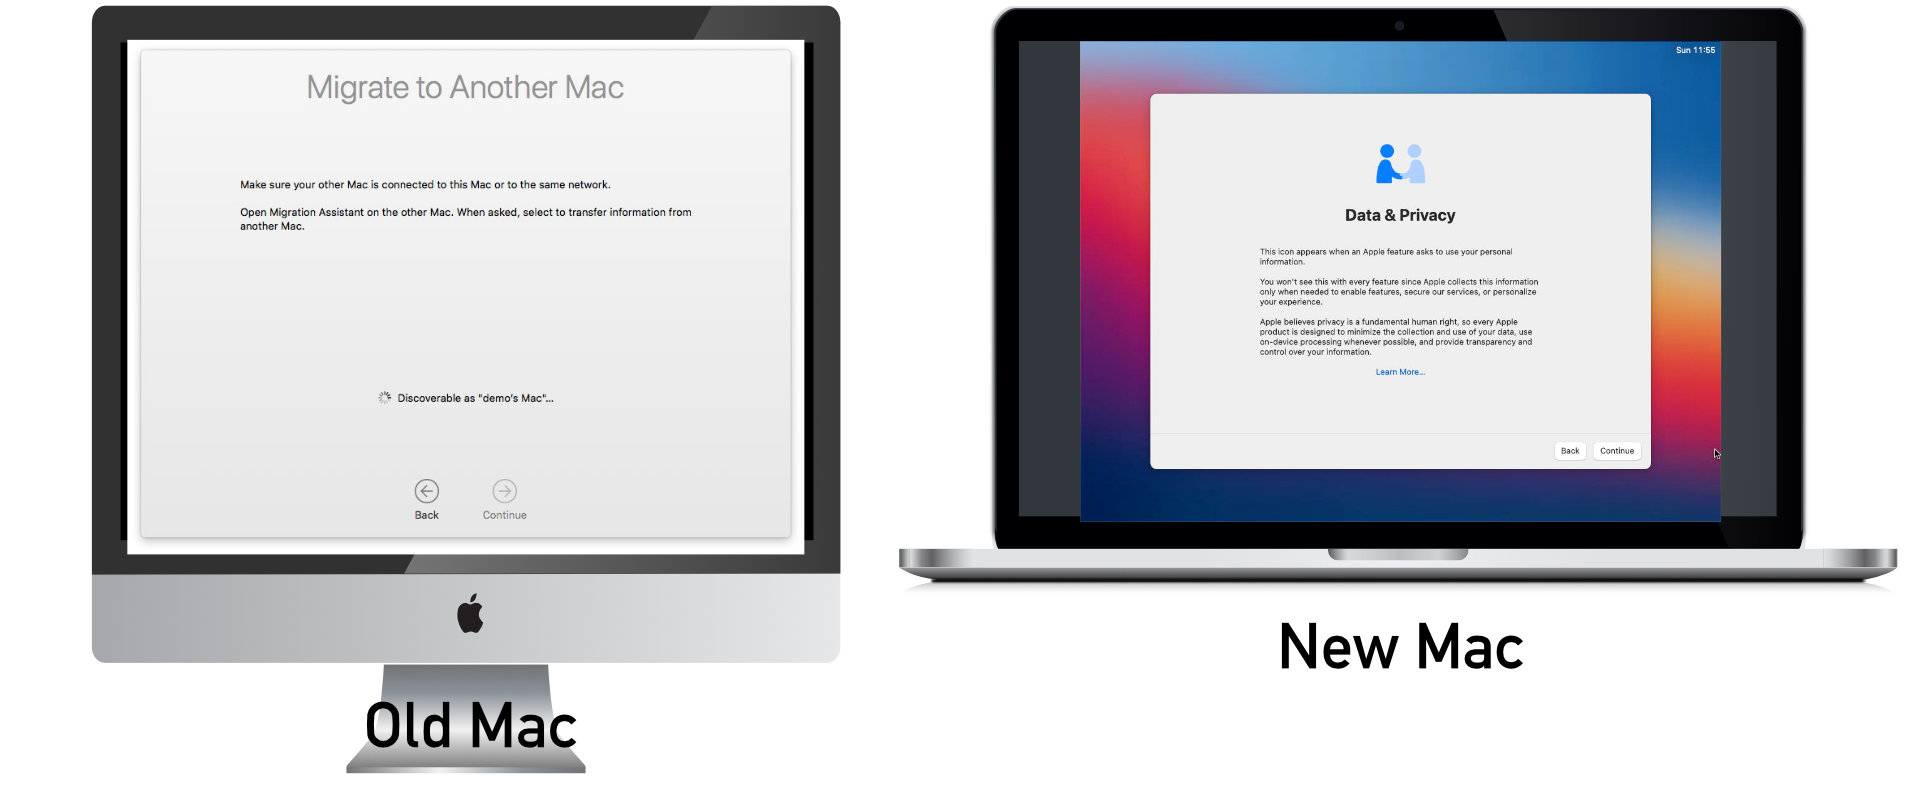
16. You will now get to the Migration Assistant. The From another Mac, Time Machine backup, or Backup disk option will be chosen, which is what we want. Press Continue.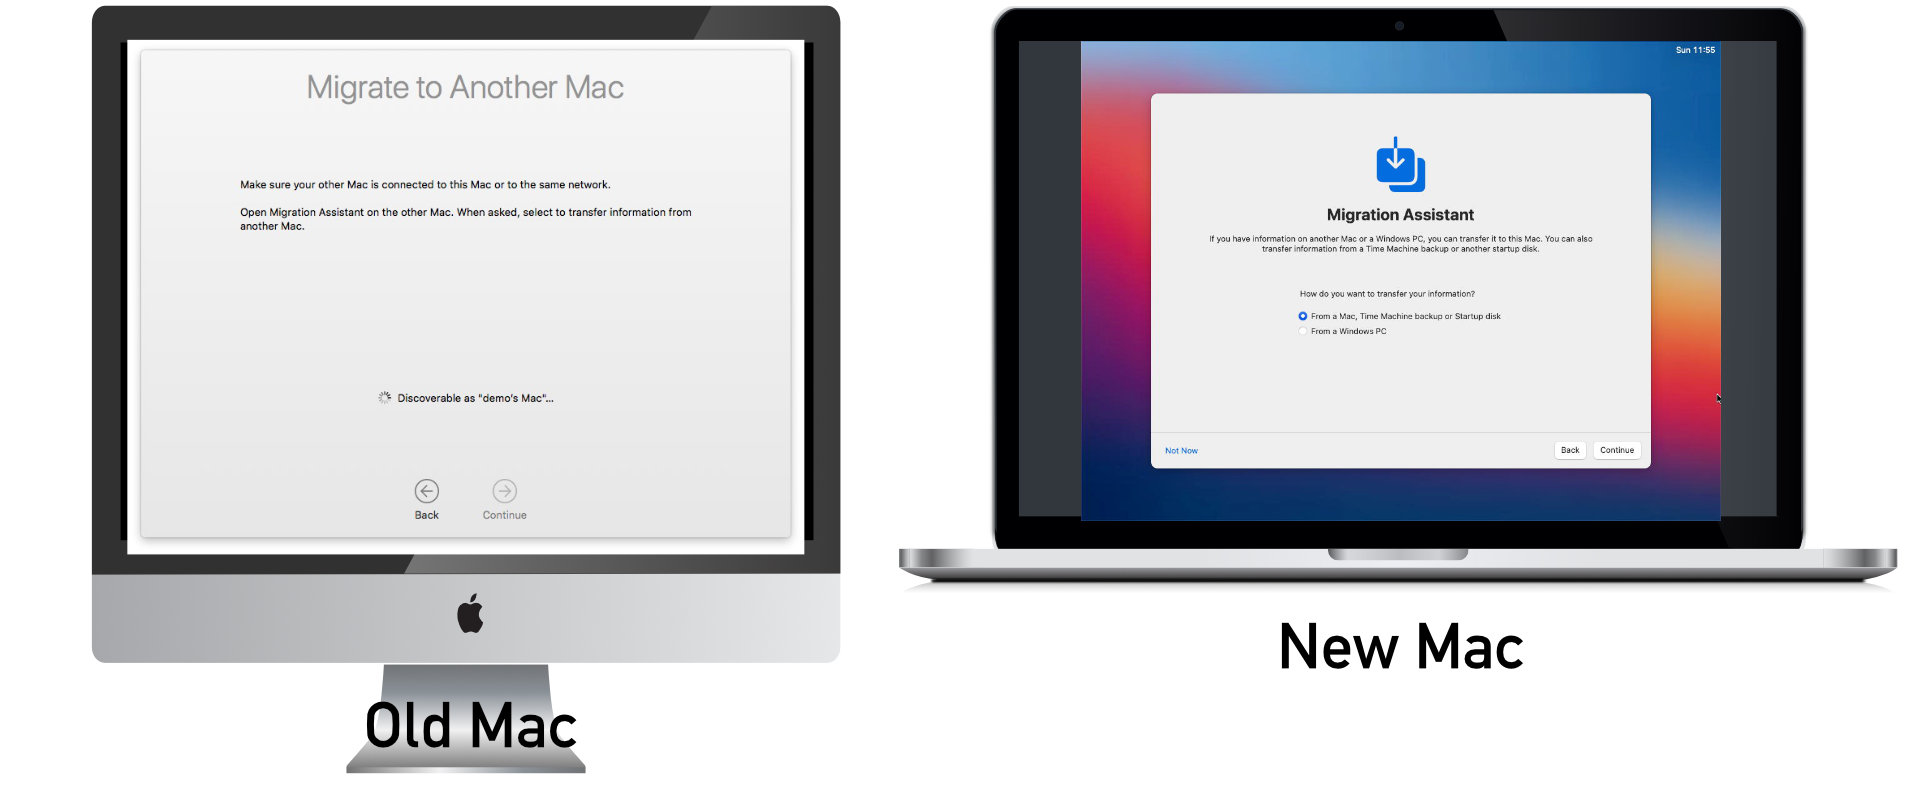
17. You will see a spinner constantly turning to indicate that your new computer is actively looking for other Macs that are running Migration Assistant. Don’t be surprised that the spinner will not stop moving. Just wait until your see an icon appear representing your old Mac and then Click on it.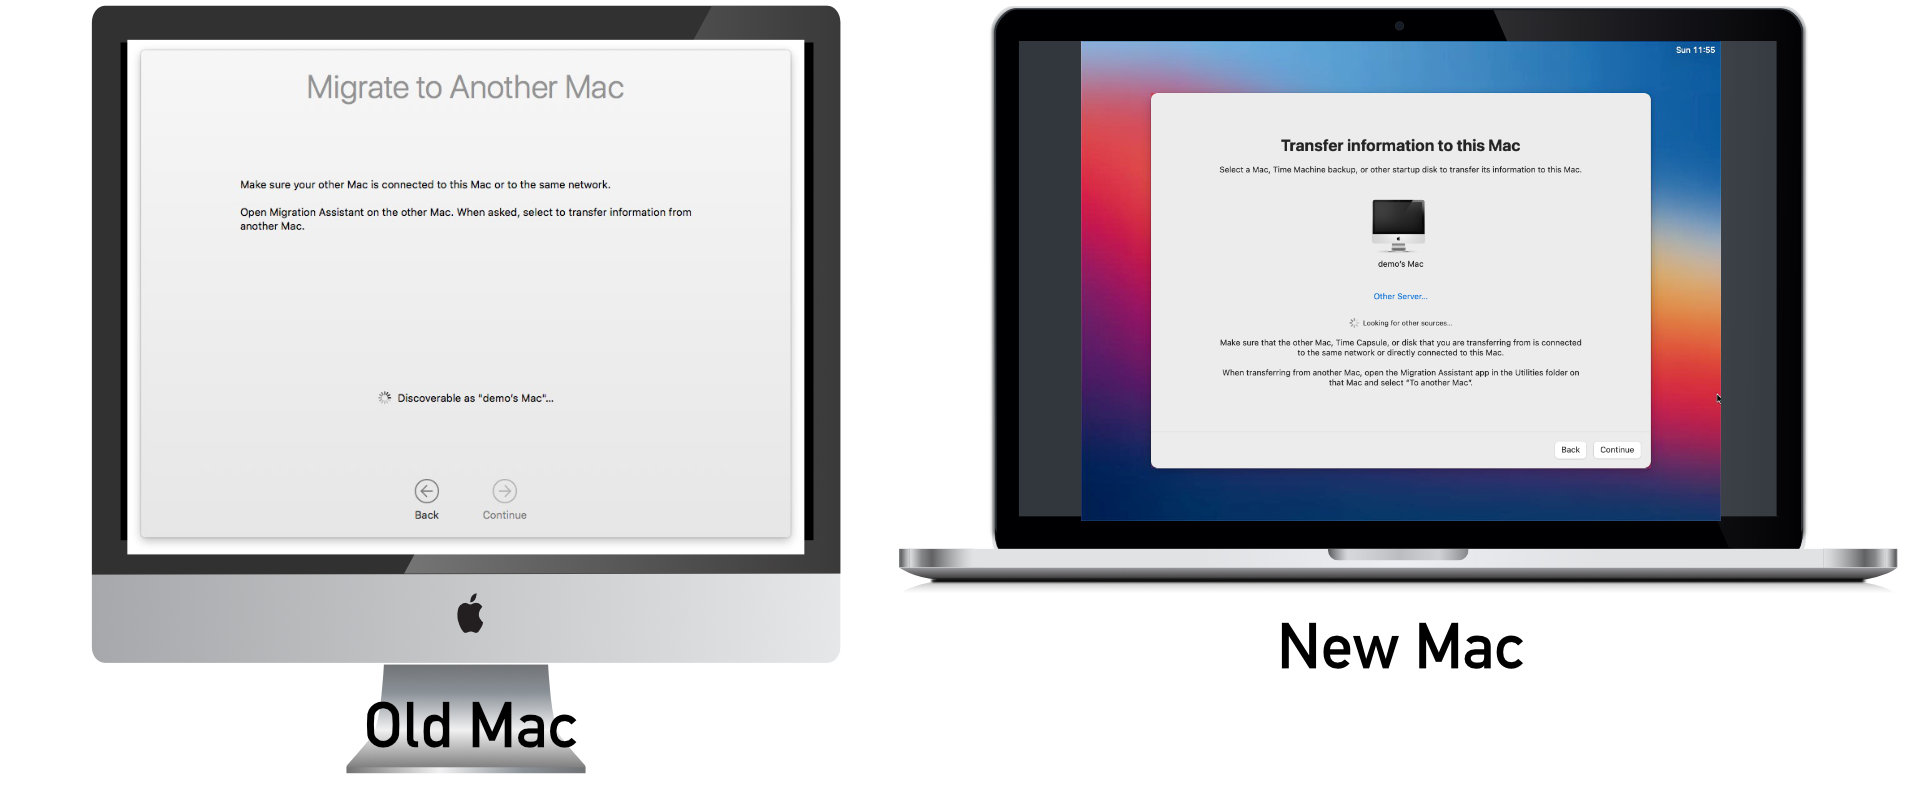
18. With your old Mac now highlighted to indicate that it is selected, press Continue.
19. Because there could be potentially be multiple computers on the network trying to migrate at the same time (just ask a technology assistant at any public school), the new Mac will generate a random PIN code. You should see the exact same PIN code on the old Mac. Click on the Continue button of the old Mac to confirm you want to migrate your data to the new computer.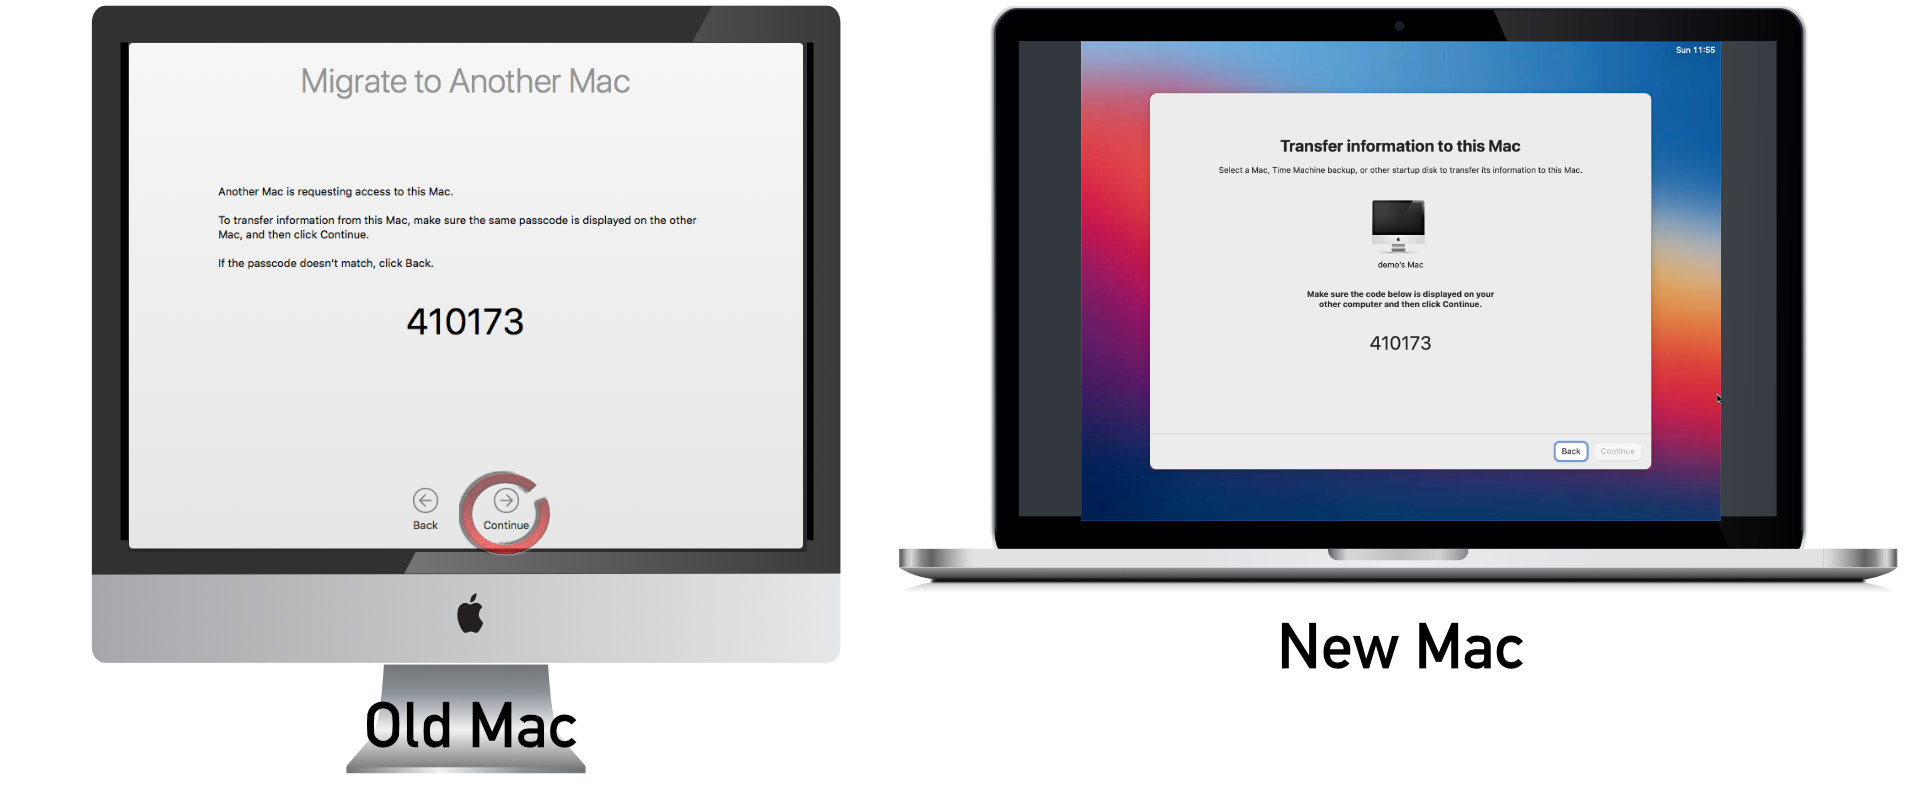
20. Your new computer will work for a while to process the index of data that can be migrated to the new computer. Note: It is not necessary to wait for the sizes of all the data to be tallied up before you continue to the next step.
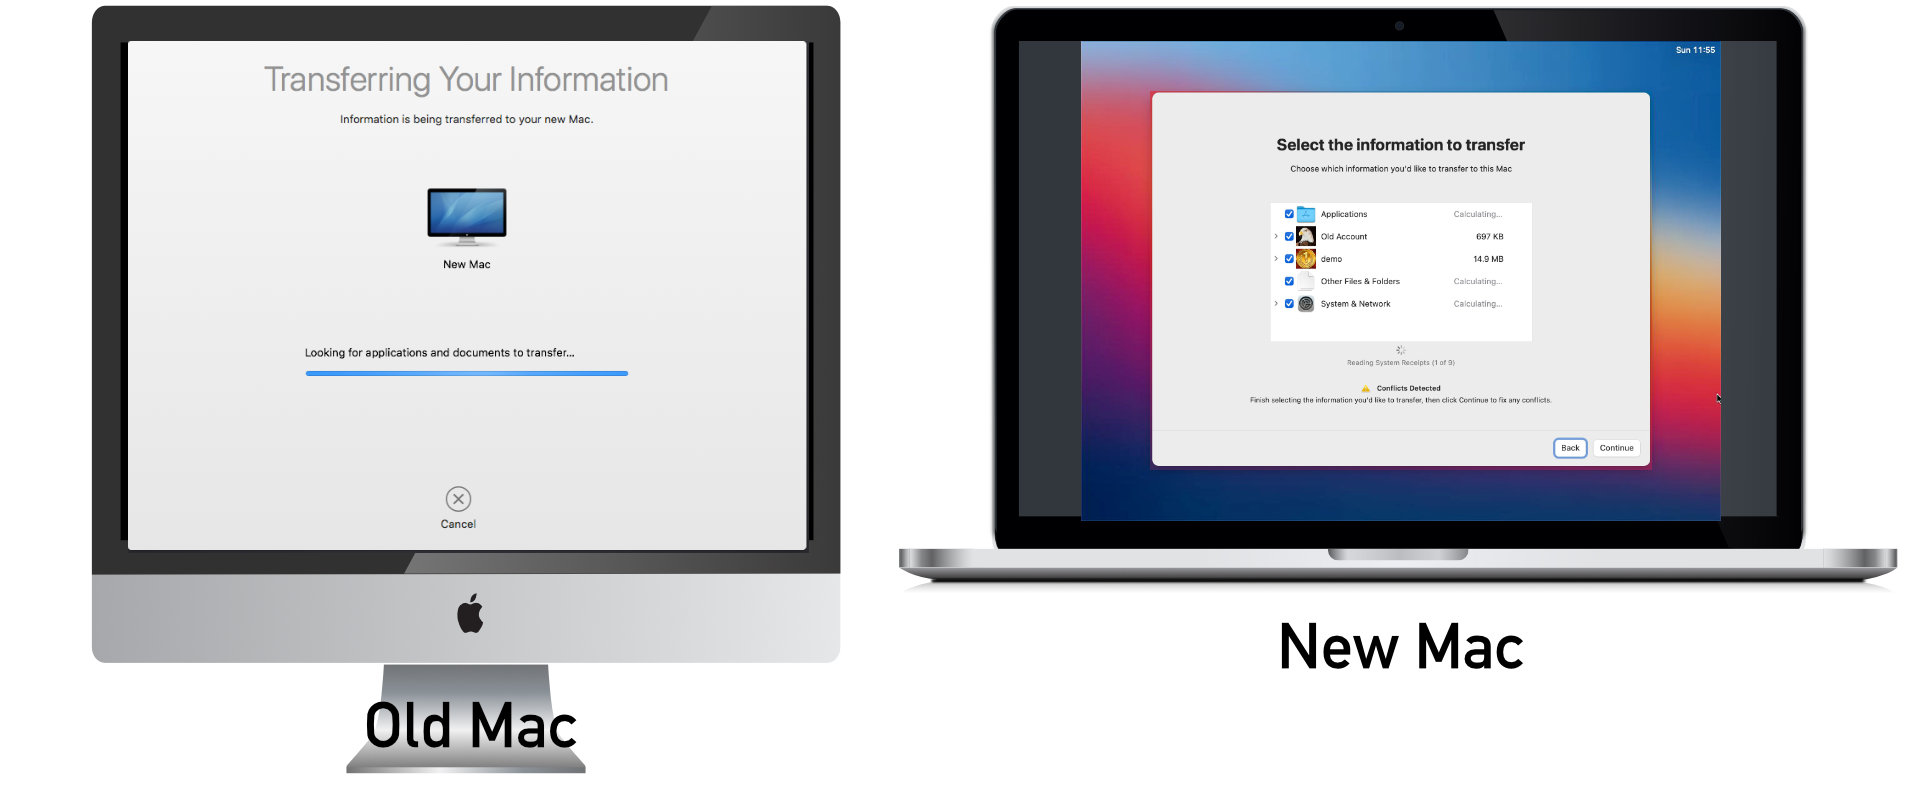
Optional step to skip a user
21. If there are any users you don’t want to migrate from the old computer to the new one, now is your chance to deselect any users you don’t want to migrate. 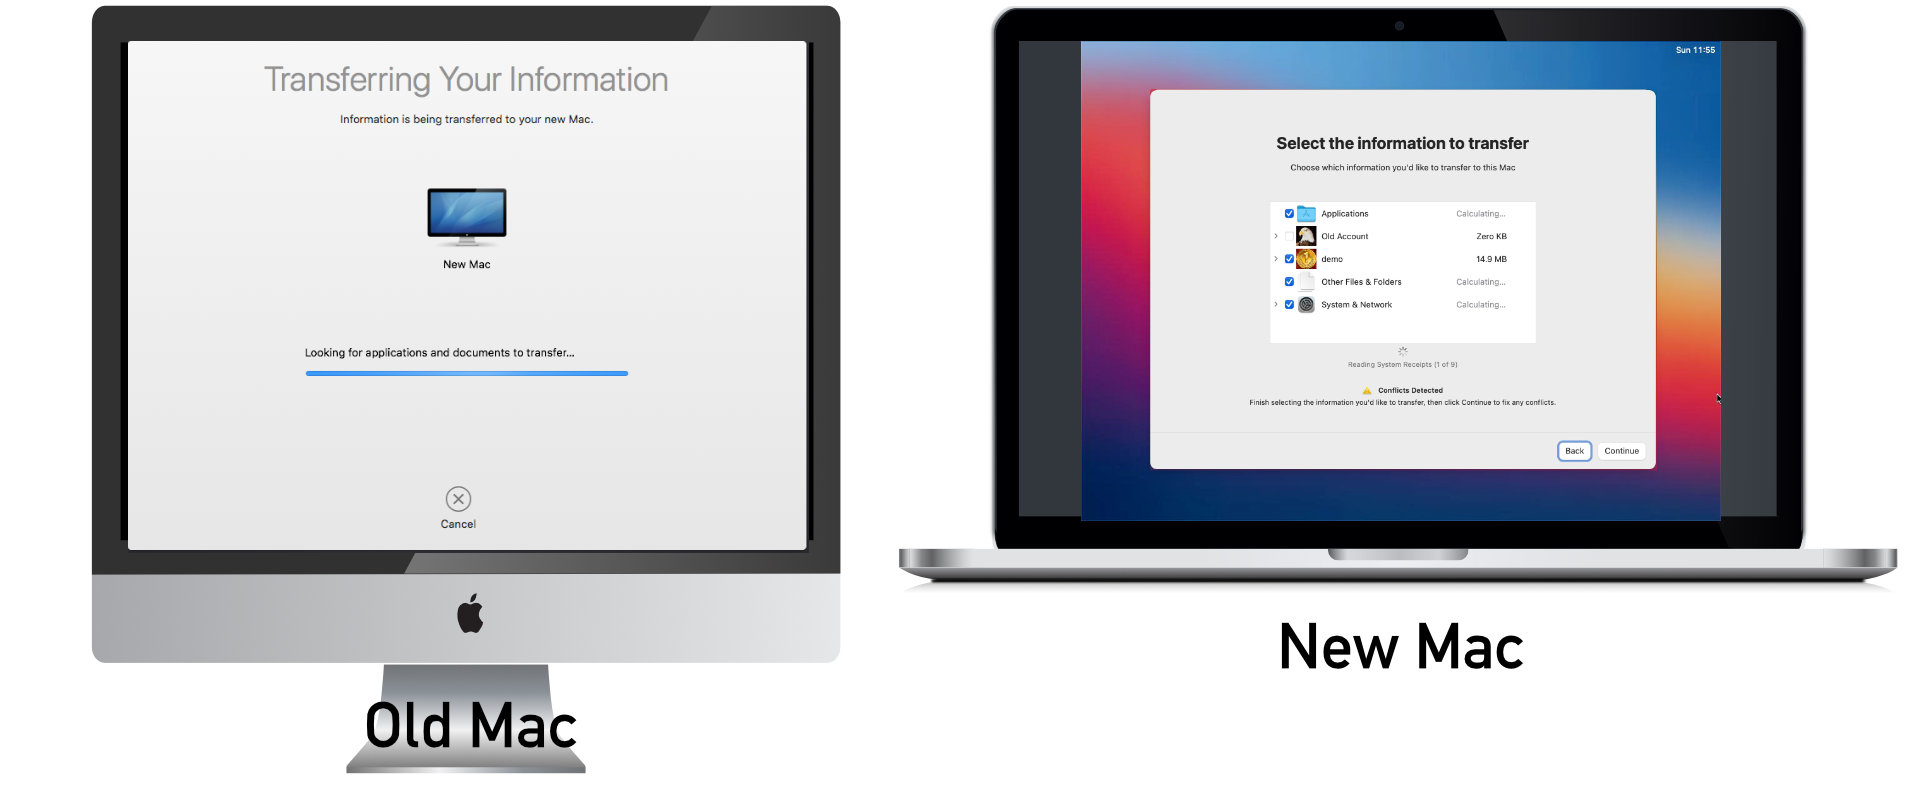
The final steps
22. You will need to set an administrative password for the user(s) you are migrating to the new computer. This will be the password that is used to install any new software or to create new users. It can be the same password that you used to use. Click on the Set Password button for all the users you are migrating.
23. Again, this can be the same password you used for the old computer if you want. The only requirement is a minimum of 4 characters. Type the password in and then type it exactly the same again to confirm it. Capitalization matters, so be careful. Press Set Password to continue.
24. Congratulations! You are now ready to finish up by pressing Continue. 
25. This last step can take anywhere from 45 minutes to several hours depending on how much data you have to migrate. There will be an estimate, but you will see the time remaining swing up and swing down during the whole process, so I suggest you take a break from the computer and just check back in an hour. The new computer will need to restart when the process is complete. You might be asked a few more questions, including your AppleID password. After that, you should see all your old data from the old computer on your new computer.